
Make It Yours: Editing Your Store After It’s Built
Your store is built in minutes — but it’s truly yours once you make it your own. Here’s how to edit text, rearrange sections, change colours, swap images, preview on any device, and publish, all from the visual builder.
Getting a store online is the easy part — Safari Shop Builder gets you there in minutes. The magic happens next, when you shape that starting point into something that feels unmistakably yours. The visual builder lets you edit every part of your storefront by hand, see the result instantly, and publish when you’re happy. No code, no designer, no waiting.
Opening the builder
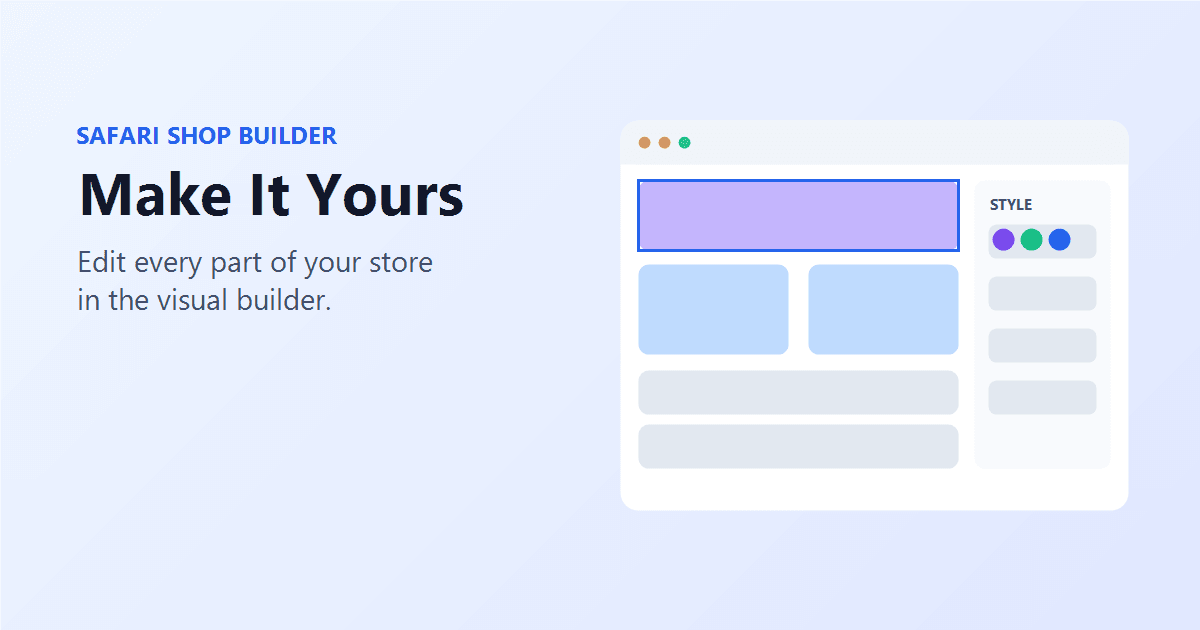
From your dashboard, find the store you want to change and click Edit Design. That opens the visual builder for that store — a live canvas of your storefront on the left and editing tools on the right. Everything you change here is a draft until you publish, so you can experiment freely.
Editing text — just click it
The fastest edit of all: click any piece of text on the canvas — your headline, a subtitle, a product blurb, your footer — and type. Your changes appear exactly where they’ll live. Press Enter to confirm, or Escape to cancel. It’s the same direct, what-you-see-is-what-you-get editing you’d expect from a modern website builder.
Working with sections
Your storefront is built from sections — building blocks you can add, remove, reorder, and restyle. There’s a generous library to pull from:
- Hero — a bold banner with a headline, subtitle, call-to-action button, and background image.
- Product grid — your products in 2, 3, or 4 columns.
- About, testimonials, FAQ — tell your story, show social proof, and answer common questions.
- Gallery — a clean image grid to show your work.
- Promo bar, trust strip, buttons, text blocks, and more — plus a WhatsApp chat button so customers can reach you in a tap.
Rearranging is drag-and-drop: grab a section by its handle and move it up or down the page (there are move buttons too, if you prefer). Found a layout you like? Duplicate a section to reuse it, or remove the ones you don’t need. Changed your mind? Undo and redo have your back while you work.
Styling to match your brand
Select any section and the properties panel on the right gives you its Content, Style, and Advanced controls. Under Style you can set:
- Background — a solid colour, a gradient, or an image.
- Text colour and alignment.
- Spacing (padding), so sections breathe the way you want.
- Corner radius, borders, and shadow for the exact look you’re after.
Section by section, you can move your storefront from “a nice template” to “clearly my shop.”
Swapping in your own images
Pictures sell. Upload your own logo, hero background, and gallery images right in the builder. For the product grid you can preview with sample products while you design, then switch to showing your real catalogue when you’re ready.
Preview on any device before you publish
Most of your customers will visit on a phone, so the builder includes a true device preview — see your store exactly as it renders on mobile, tablet, and desktop, at real screen sizes, before anyone else does. What you preview is what goes live; there are no surprises between the editor and the real page.
Saving and publishing
Your work is saved automatically as you go, so you won’t lose a thing. When your store is still a draft, only you can see it (you can preview it privately any time). When it’s ready for the world, publish it — and your edits appear on your live storefront right away.
A few tips
- Start with the hero. It’s the first thing visitors see — a clear headline and a strong image do a lot of the work.
- Keep it focused. A handful of well-chosen sections beats a long, cluttered page.
- Preview on mobile before publishing — that’s where most of your customers are.
- Edit in passes. Do the text first, then images, then styling. It’s faster than perfecting one section at a time.
Your storefront should feel like an extension of your brand, not a template everyone else is using. Open the builder, click into your store, and make it yours. Head to your dashboard to start editing.